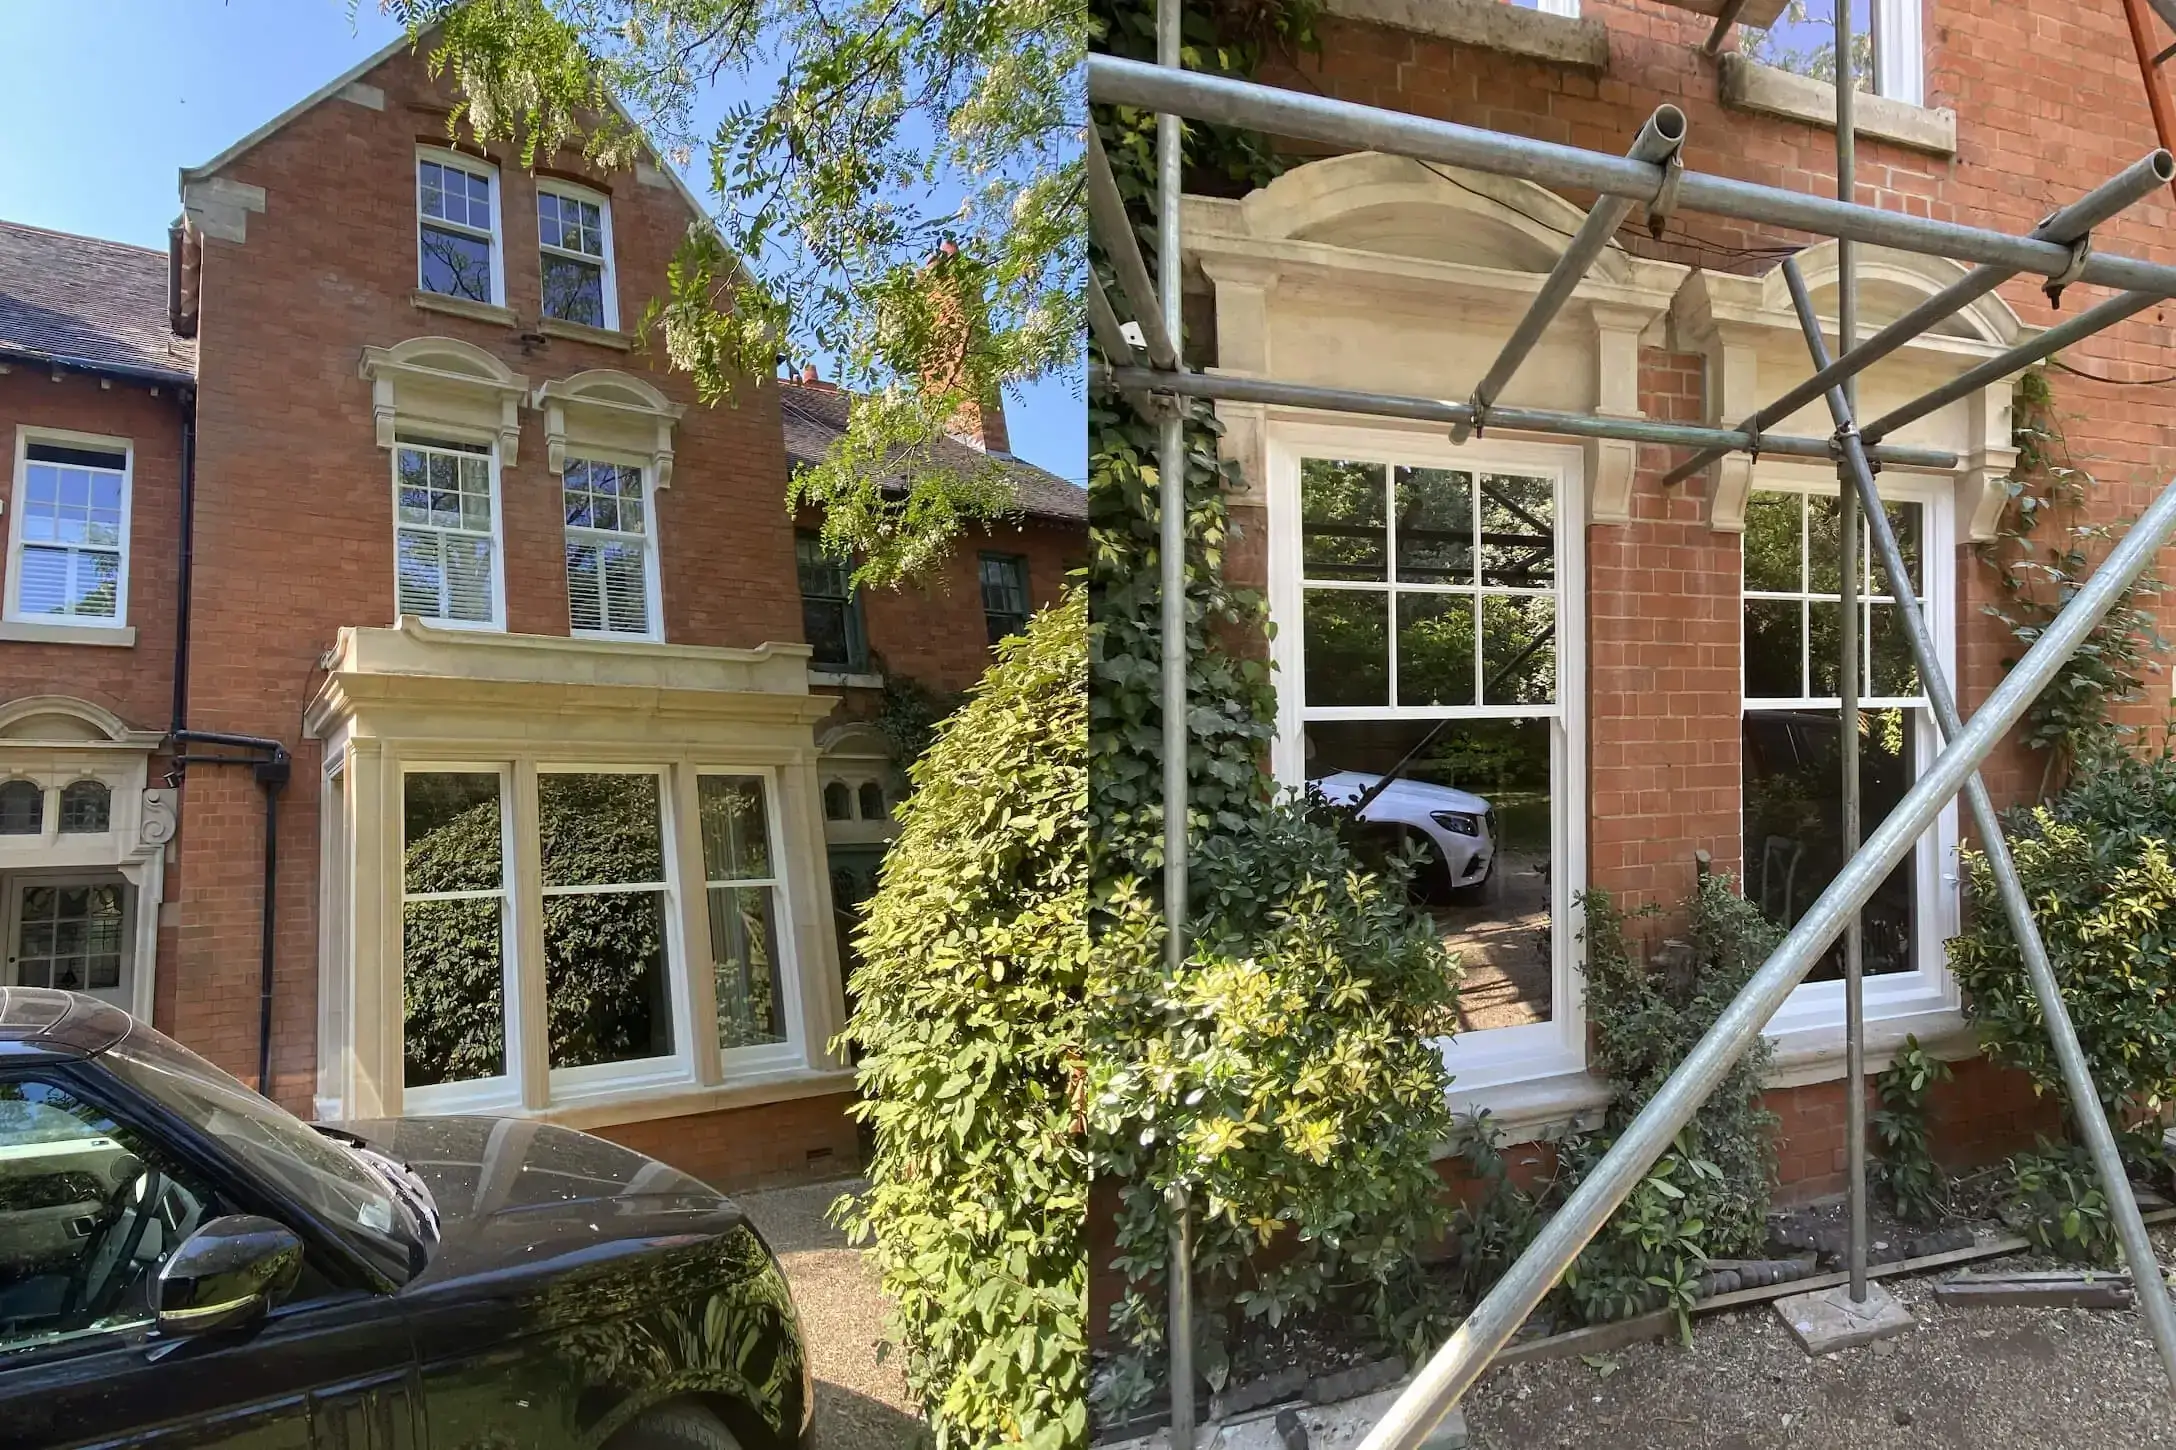
No draught.
The sash still slides.
We fit a discreet brush-pile seal into the original sash. Air leaks stop; the window works exactly as before.
Scope of works
Draught-proofing is item 07 of 14.
Standard in Double-glazing retrofit. Optional in Restoration.
| No. | Scope item | Restoration | Double-glazing retrofit |
|---|---|---|---|
| 01 | Repair rot — wood-hardener treatment and spliced inlays | ||
| 02 | Unblock painted-shut sashes | ||
| 03 | Service pulleys, hinges and locks | ||
| 04 | Replace sash cords | ||
| 05 | Fix loose joints — reinforce window frames | ||
| 06 | Repair cracked glass | ||
| 07 | Draught-proofing — this page | Optional | |
| 08 | Remove single glazing | ||
| 09 | Rebate sashes and frames for VIG glazing | ||
| 10 | Install vacuum-insulated glazing | ||
| 11 | Add weights to counterbalance heavier glazing | ||
| 12 | Prime exposed timber | ||
| 13 | Ironmongery — install new lifts, fasteners, locks and handles on request | ||
| 14 | Remove rubbish on completion |
What it is.
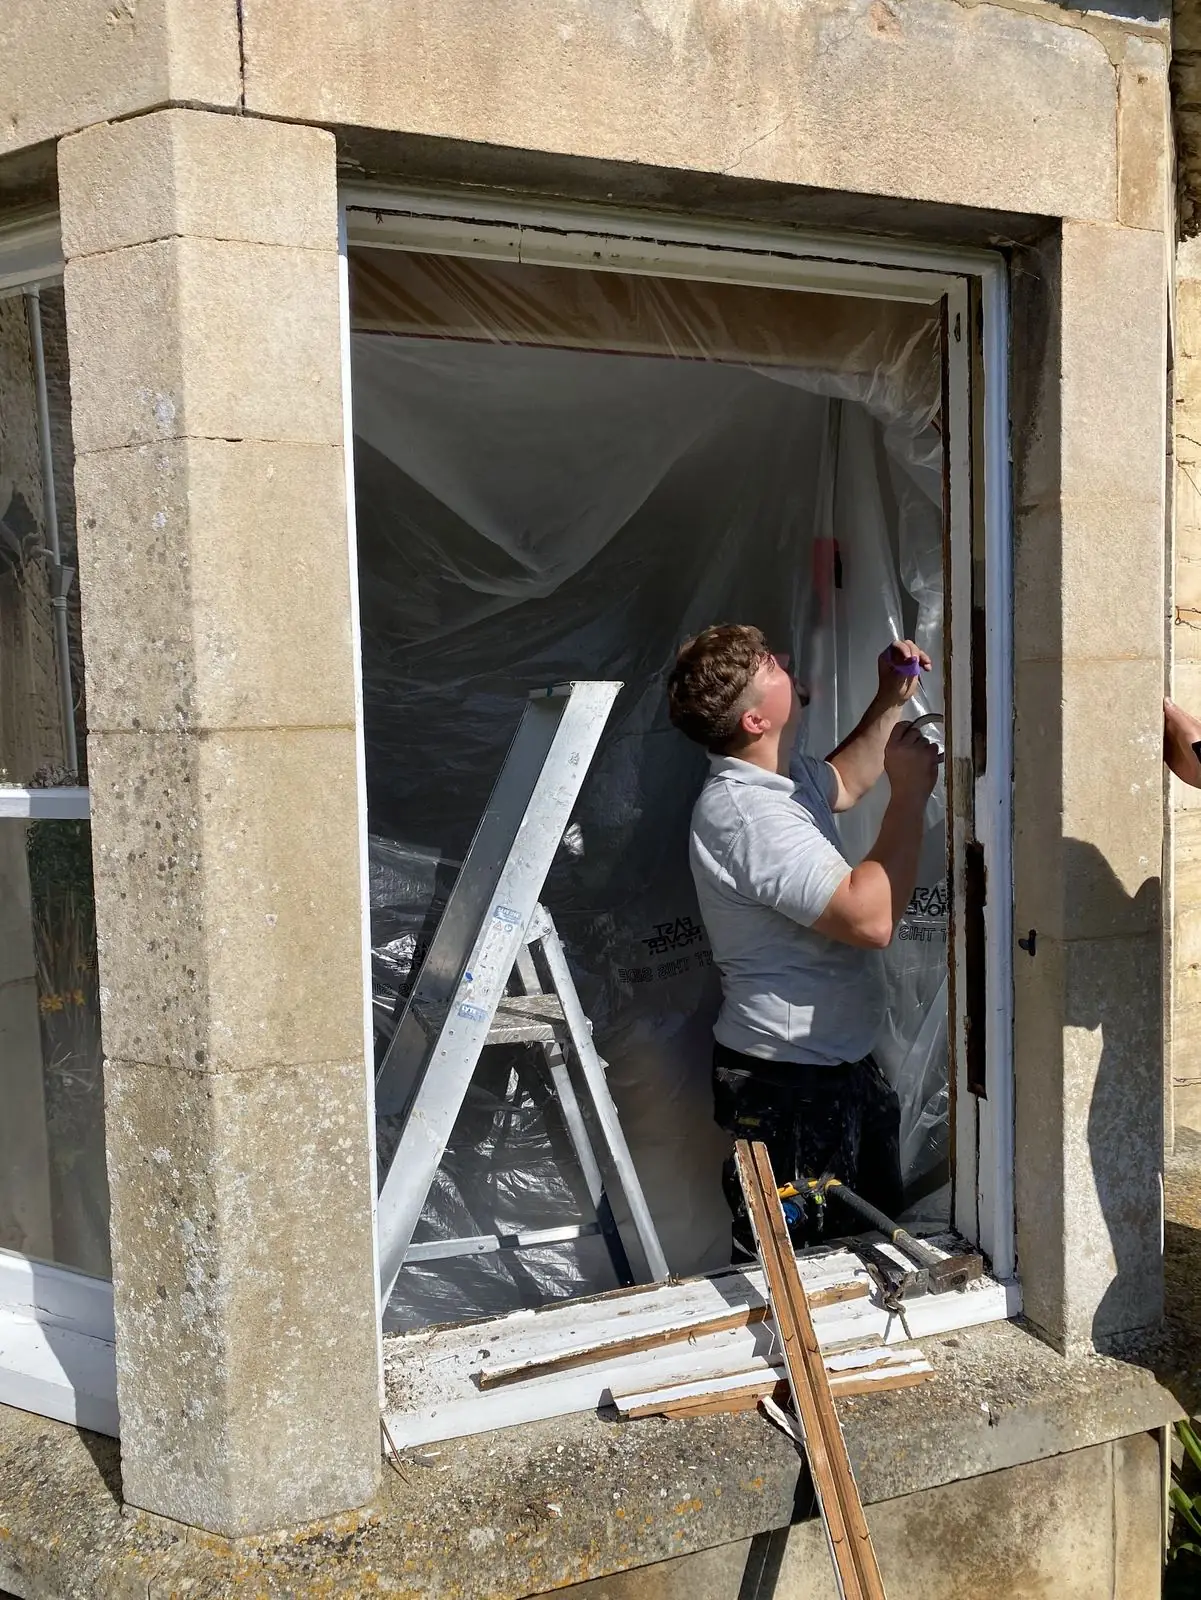
A brush-pile gasket routed into the meeting rail, parting bead, and cill of the original sash. Invisible from inside the room. The sash still slides and locks the way it always did.
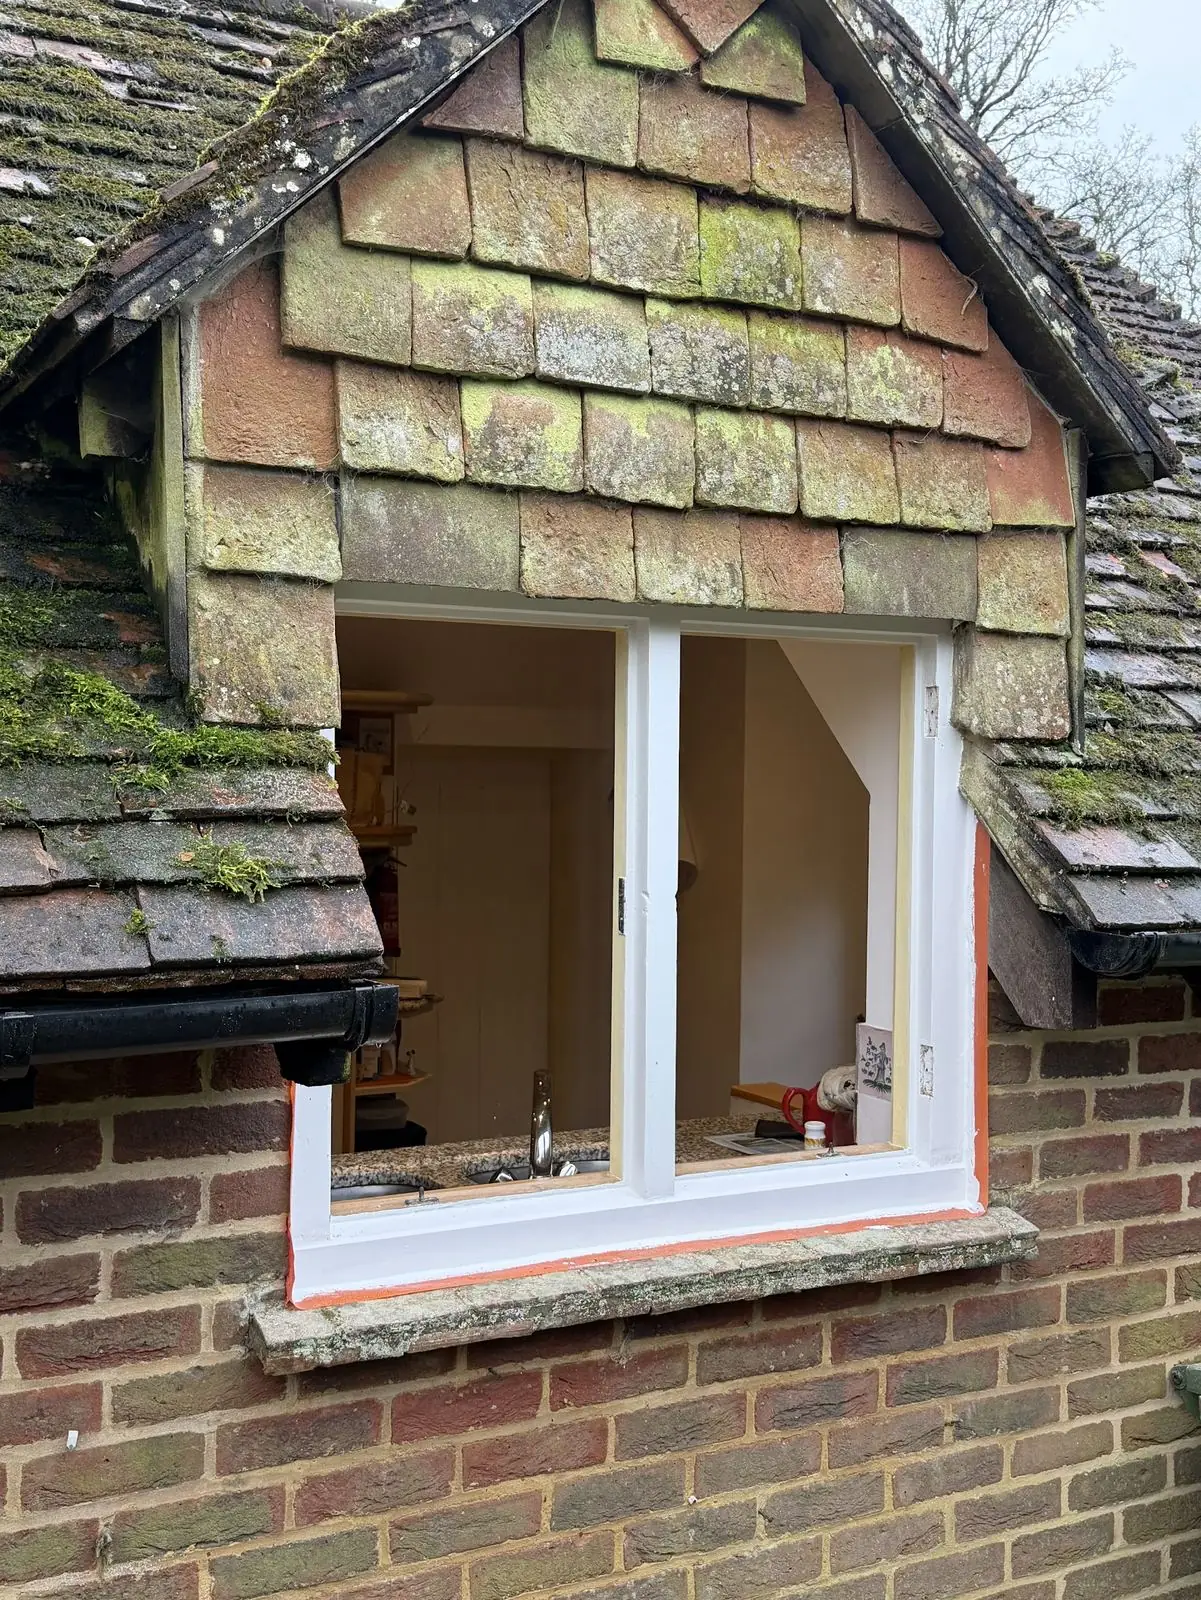
Most period sash windows leak air around the perimeter — between sash and frame, at the meeting rail, around the cill. The window isn't broken; the seal is missing.
One day per window, typically. VAT 0% rated as an energy-efficiency measure until 2027.
Why draught-proof.
A typical period sash leaks air through 1.5–3 mm of perimeter gap on each opening. Across a house, that's the equivalent of a small open window running twenty-four hours a day. Sealing those gaps stops the loss without changing how the window looks or works.
- 01
Invisible from inside
The brush-pile seal sits inside a routed groove behind the parting bead. Walk into the room and you can't tell the work has been done. From the street, no visible change at all.
- 02
The sash still works
Sliding action is preserved. The window opens, closes and locks the way it always did. No glue, no foam strips, no fixed-shut sashes — the brush compresses against the staff bead when the sash closes, and releases when it lifts.
What's in scope.
Four work areas, in roughly one day per window. The free survey covers which seals each opening actually needs.
- 01
Survey
Identify the leak paths — meeting rail, parting bead, cill, sometimes the top reveal. A smoke pencil maps the air movement on draughty windows. Quote and scope is per window.
- 02
Route
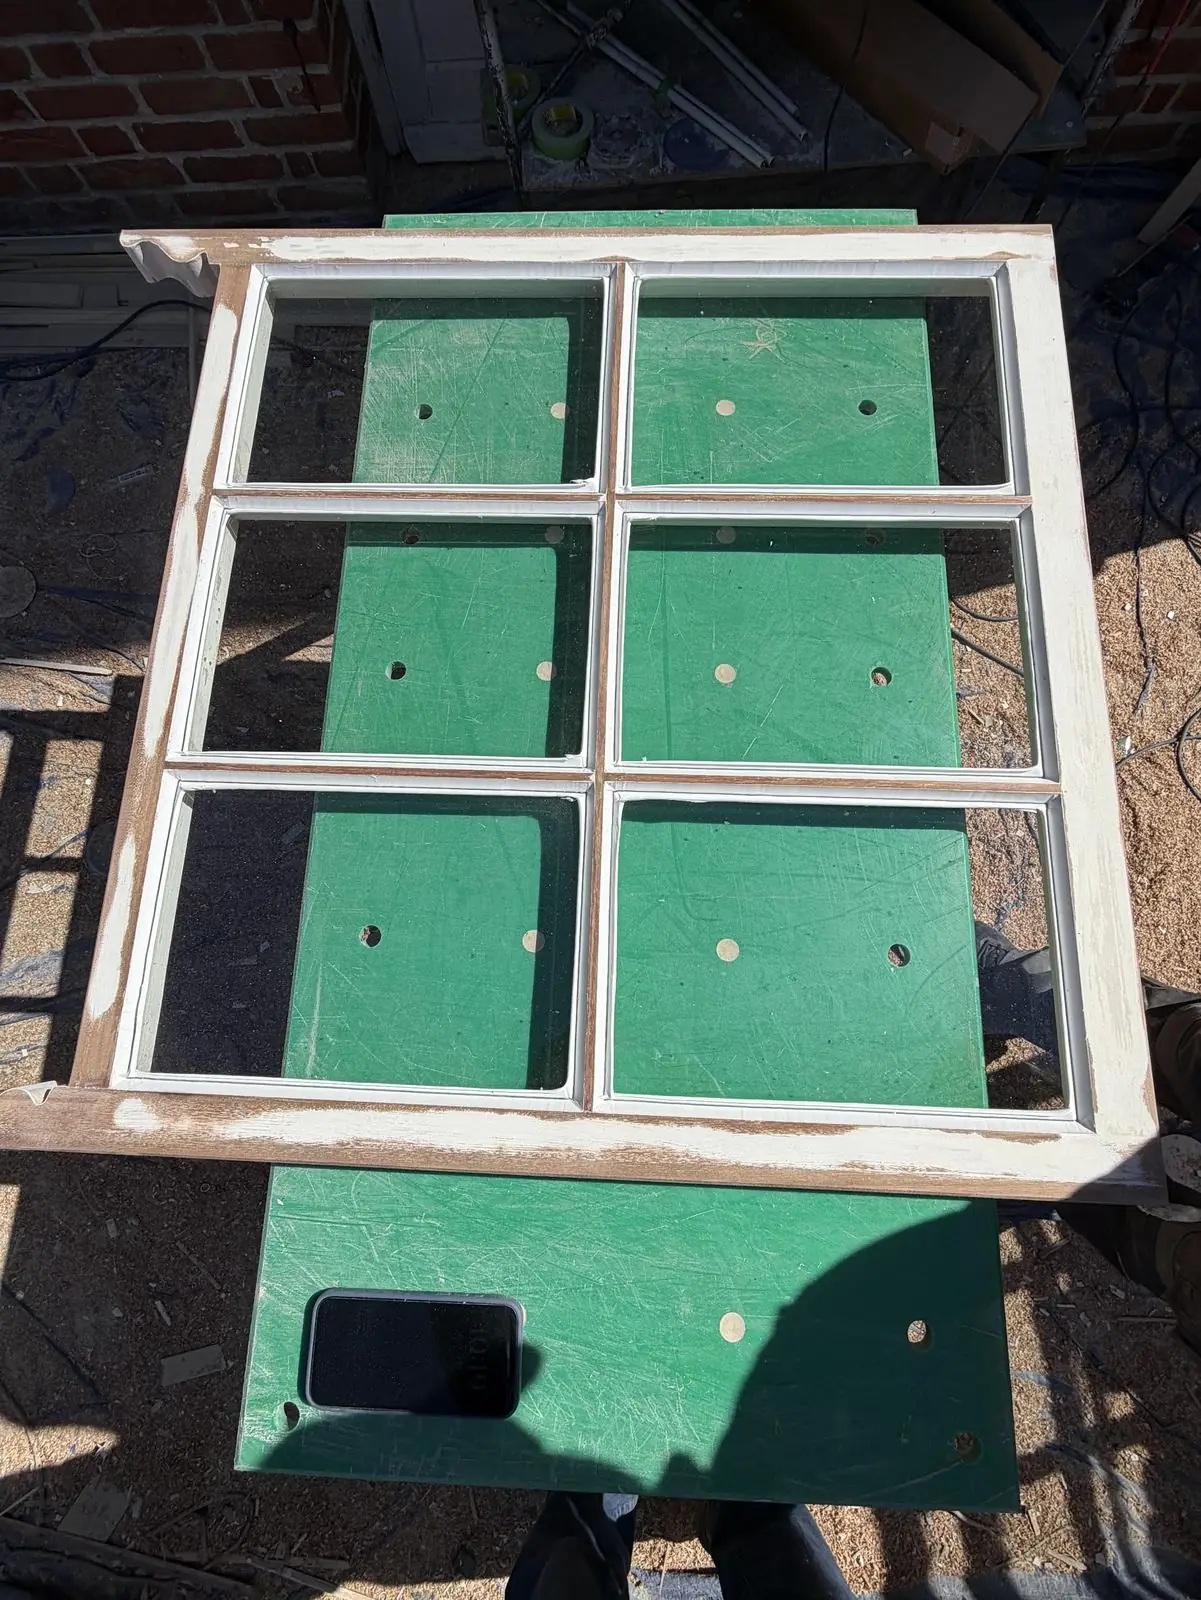
A precise channel cut into the meeting rail and parting bead with a track-mounted router. Width and depth matched to the brush specification; the groove is invisible once the sash is reinstalled.
- 03
Brush fit
A pile-and-fin strip pressed into the routed groove, cropped to length, mitred at the corners. The pile projects around 6 mm and compresses against the staff bead when the sash closes.
- 04
Service while open
While the sash is out for routing, we cord-and-pulley-service the box at the same time. Most jobs include this; it doesn't add meaningful time and saves a second visit later.